Growing dry beans can be a fun & beautiful addition to the garden. If you have space, it is easy to produce homestead quantities of dry beans to feed your family. On a small farm scale growing dry beans can provide a profitable addition to the farmer’s market display. Conveniently, seed saving is the same as crop harvest for dry beans, which makes them a crop you only have to buy seed for once (unless you accidentally eat them all).
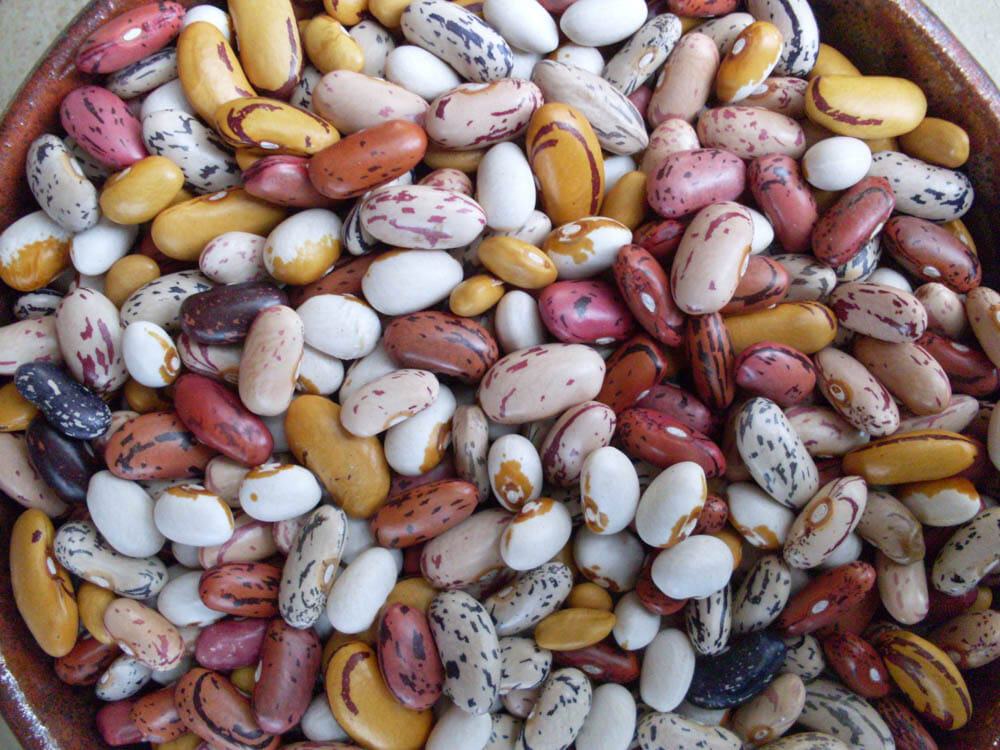
We sometimes sell a mix of bean varieties as a “Bean Party.” So pretty!
Here at Adaptive Seeds, we love to grow beans almost as much as we like to eat them (which is a lot). Producing them is a bit of a process but it’s pretty fun & you’re rewarded with piles of delicious, nutritious jewels at the end so it’s totally worth it.
As market growers, we were attracted to dry bean production because we saw a need for local staple food production – for food security as much as to fill a market niche – & soon discovered we could sell all of the beans we could produce. We also really like having dry beans fill a spot in our field rotations. In the past we have planted as many as 6 acres in dry beans, but it didn’t take us long to figure out that if we planted less acreage but took better care of it, we could have much higher yields & fewer headaches. Since we’ve shifted our focus to seed production, we have reduced our dry bean crop size further & now grow about ½ acre of beans per year, still selling some as food. Following is an assortment of tips & tricks for dry bean production, & details of our bean enterprise budget from 2014.
Planting
In our area (The Willamette Valley of Oregon), dry beans can be planted until the beginning of June, which means you still have some time to get a crop in the ground this season. Our goal is to sow our dry beans by mid-May, but we have successfully harvested earlier varieties (such as Early Warwick) from sowing as late as June 10.
Dry beans are sensitive to frost & need warm soil to germinate, so sowing earlier isn’t necessarily worth it. The real trick is getting the crop harvested before the rains come in September – for this reason, we choose varieties with shorter days-to-maturity. Some dry beans take as many as 110 days to mature, but the varieties we offer at Adaptive Seeds all mature in 95 days or less. This is true for both bush & pole types. For farm scale food production we prefer bush types, but pole types can be higher yielding in a smaller space. The information that follows is for bush types only.
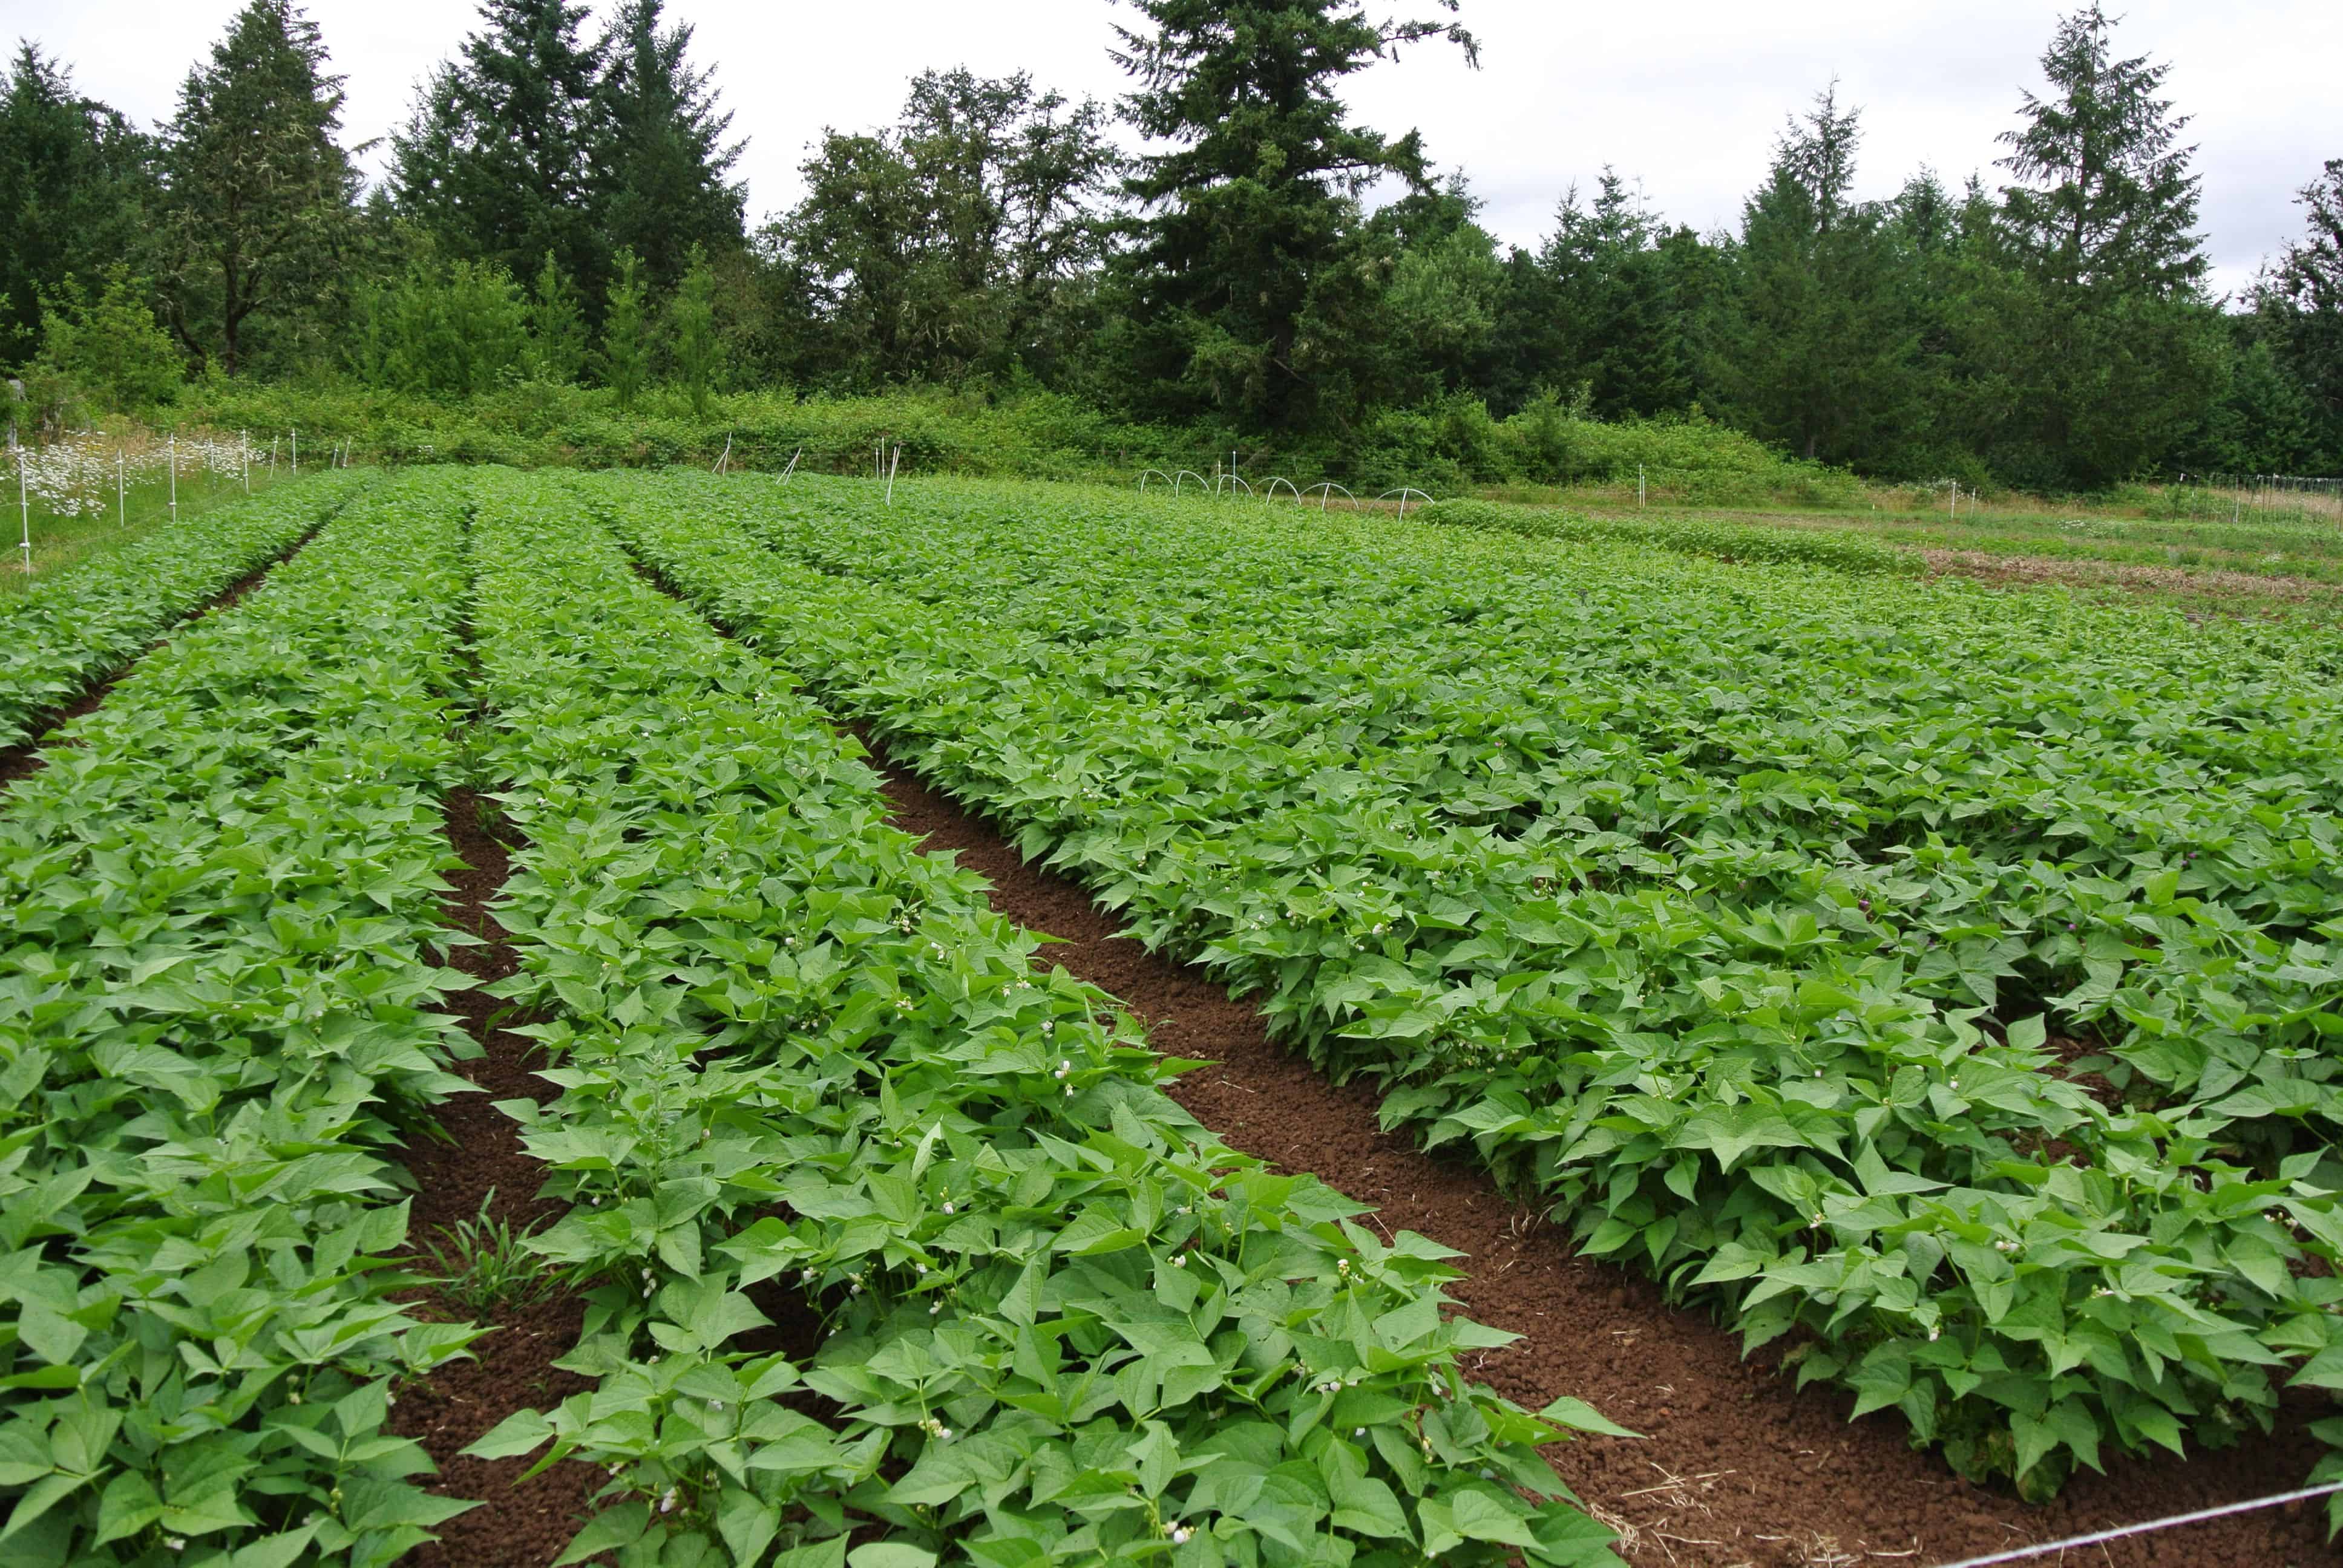
A July 2 photo of a dry bean field that was seeded on May 18.
Growing
We have experimented with several regimes for fertility, plant spacing, & irrigation, & have concluded that the best way for us to grow bush dry beans is to grow them the same way we grow bush snap beans. Our dry beans get the same amount of fertility as our vegetable crops (we use 75# of 4-4-4 per 200′ bed). Our farm bed tops are 44” wide, and we sow 3 rows per bed spaced 1′ apart. We direct seed our dry beans with an Earthway® seeder, & don’t bother to thin them. The beans get about 1” of irrigation from overhead sprinklers per week, until August 1 when we cut off water to encourage the beans to dry down, with our goal to begin harvest by September 1. We used to inoculate our beans before planting but have stopped – it seems the bacteria exist in our soil at this point & it’s a bit of a hassle. If you’re new to growing beans &/or don’t use organic methods, we recommend inoculating beans before planting. We usually weed the beans three times during the season.
Harvest
Beans are ready to harvest when pods are dry but not split open & most of the leaves are yellow &/or dropping. It can be tricky to get the timing right because with most heirloom varieties not all pods ripen at the same time. It is usually better to harvest when most of the beans are ready than to wait for the last pods to dry down – if you wait this long you’ll likely lose more beans to shattering (when the pods open & beans fall out), than you will gain by waiting for those stragglers.
At harvest time we simply pull plants out by hand. This is a good task to do in the morning, as there will be some moisture on the plants & the pods are less prone to shattering than when harvested in the afternoon. We then shake / wipe the dirt off the roots (this is VERY important, as any dirt clods that make it onto your tarp will have to be picked out later), & toss whole plants onto smaller tarps (8′ x 10′) that we drag along behind us on the beds.
At the end of this process, we drag the tarps off the beds onto a much larger tarp or old shade cloth that’s on a farm road, & spread them out in the sun to dry for 2 – 3 days. We use tarps that are at least 20′ x 60′, but bigger is even better (depending on the size of your crop) – if you don’t have a tarp that large you can patchwork a few smaller ones together. Old shade cloth is much better than tarps for this purpose, because it is “self-healing” if stabbed by a pitchfork – & – perhaps more importantly – it’s porous, so if it rains or there is heavy dew, the water doesn’t pool under the beans.
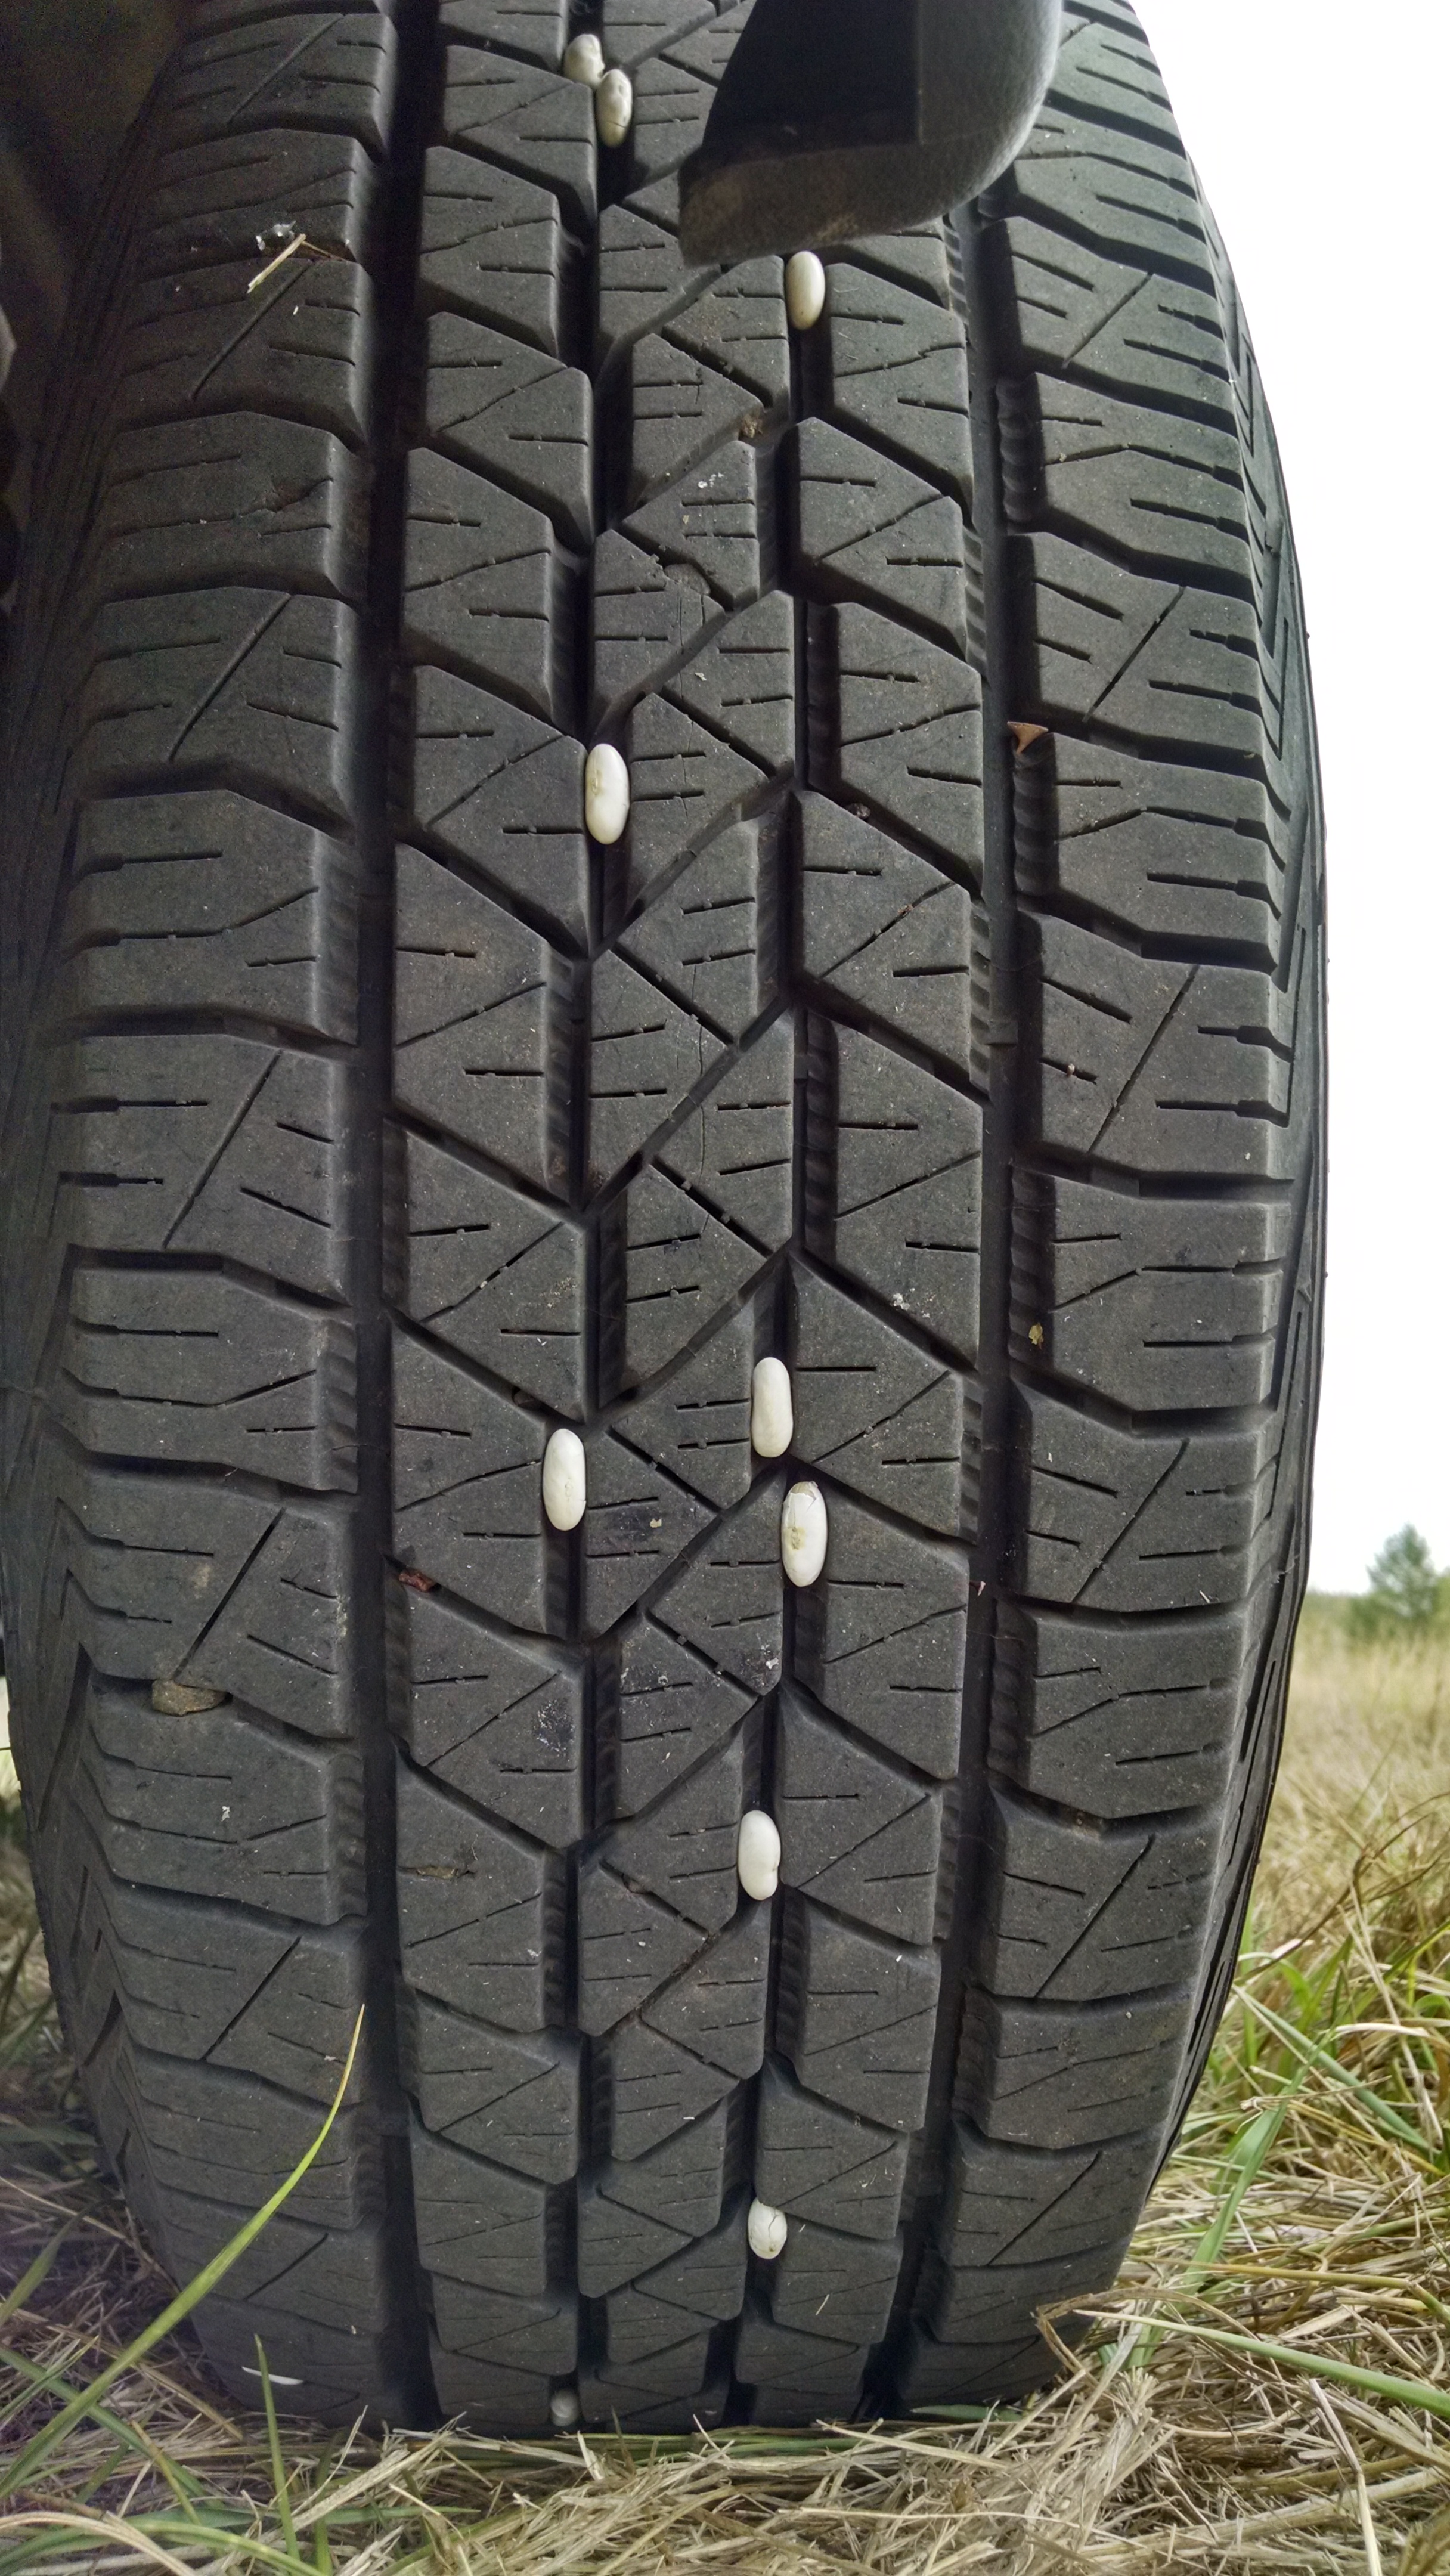
Tires double as threshing equipment & seed dispersal mechanism.
Thresh
Threshing is next, & it’s where the fun begins. After the plants have dried down, & hopefully on a hot, dry afternoon, we drive on the beans to thresh them. Our farm truck is a 1992 Ford F150, but we’ve also used a Toyota pickup & seen videos of folks using tractors. The key to this step is to start on the outside of the pile with the driver’s side of the truck, & go back & forth slowly making your way across the pile until it’s all flat. I usually go side to side two times, then get out, stir / flip the beans with a pitchfork, & do it again. Two times through the process is usually enough. Of course if you’re doing a smaller quantity (or even a larger one & you’re up for it), you can thresh the old-fashioned way: by dancing. For medium-sized quantities, we throw some varieties through a modified wood chipper.
Once threshing is complete, it’s time to scalp the beans by raking plants into piles, picking the piles up with a pitchfork, & tossing the larger plant debris onto another tarp to haul to the compost pile (or you can just toss it aside). It’s good to give the pitchfork a good shake &/or toss the pile into the air & catch it again, to make sure all of the beans have fallen out. This is my favorite part. A slight breeze is helpful to this process – you’ll quickly learn which direction to work in if the wind is blowing. This can be a dusty job so you might want to wear a bandana or dust mask.
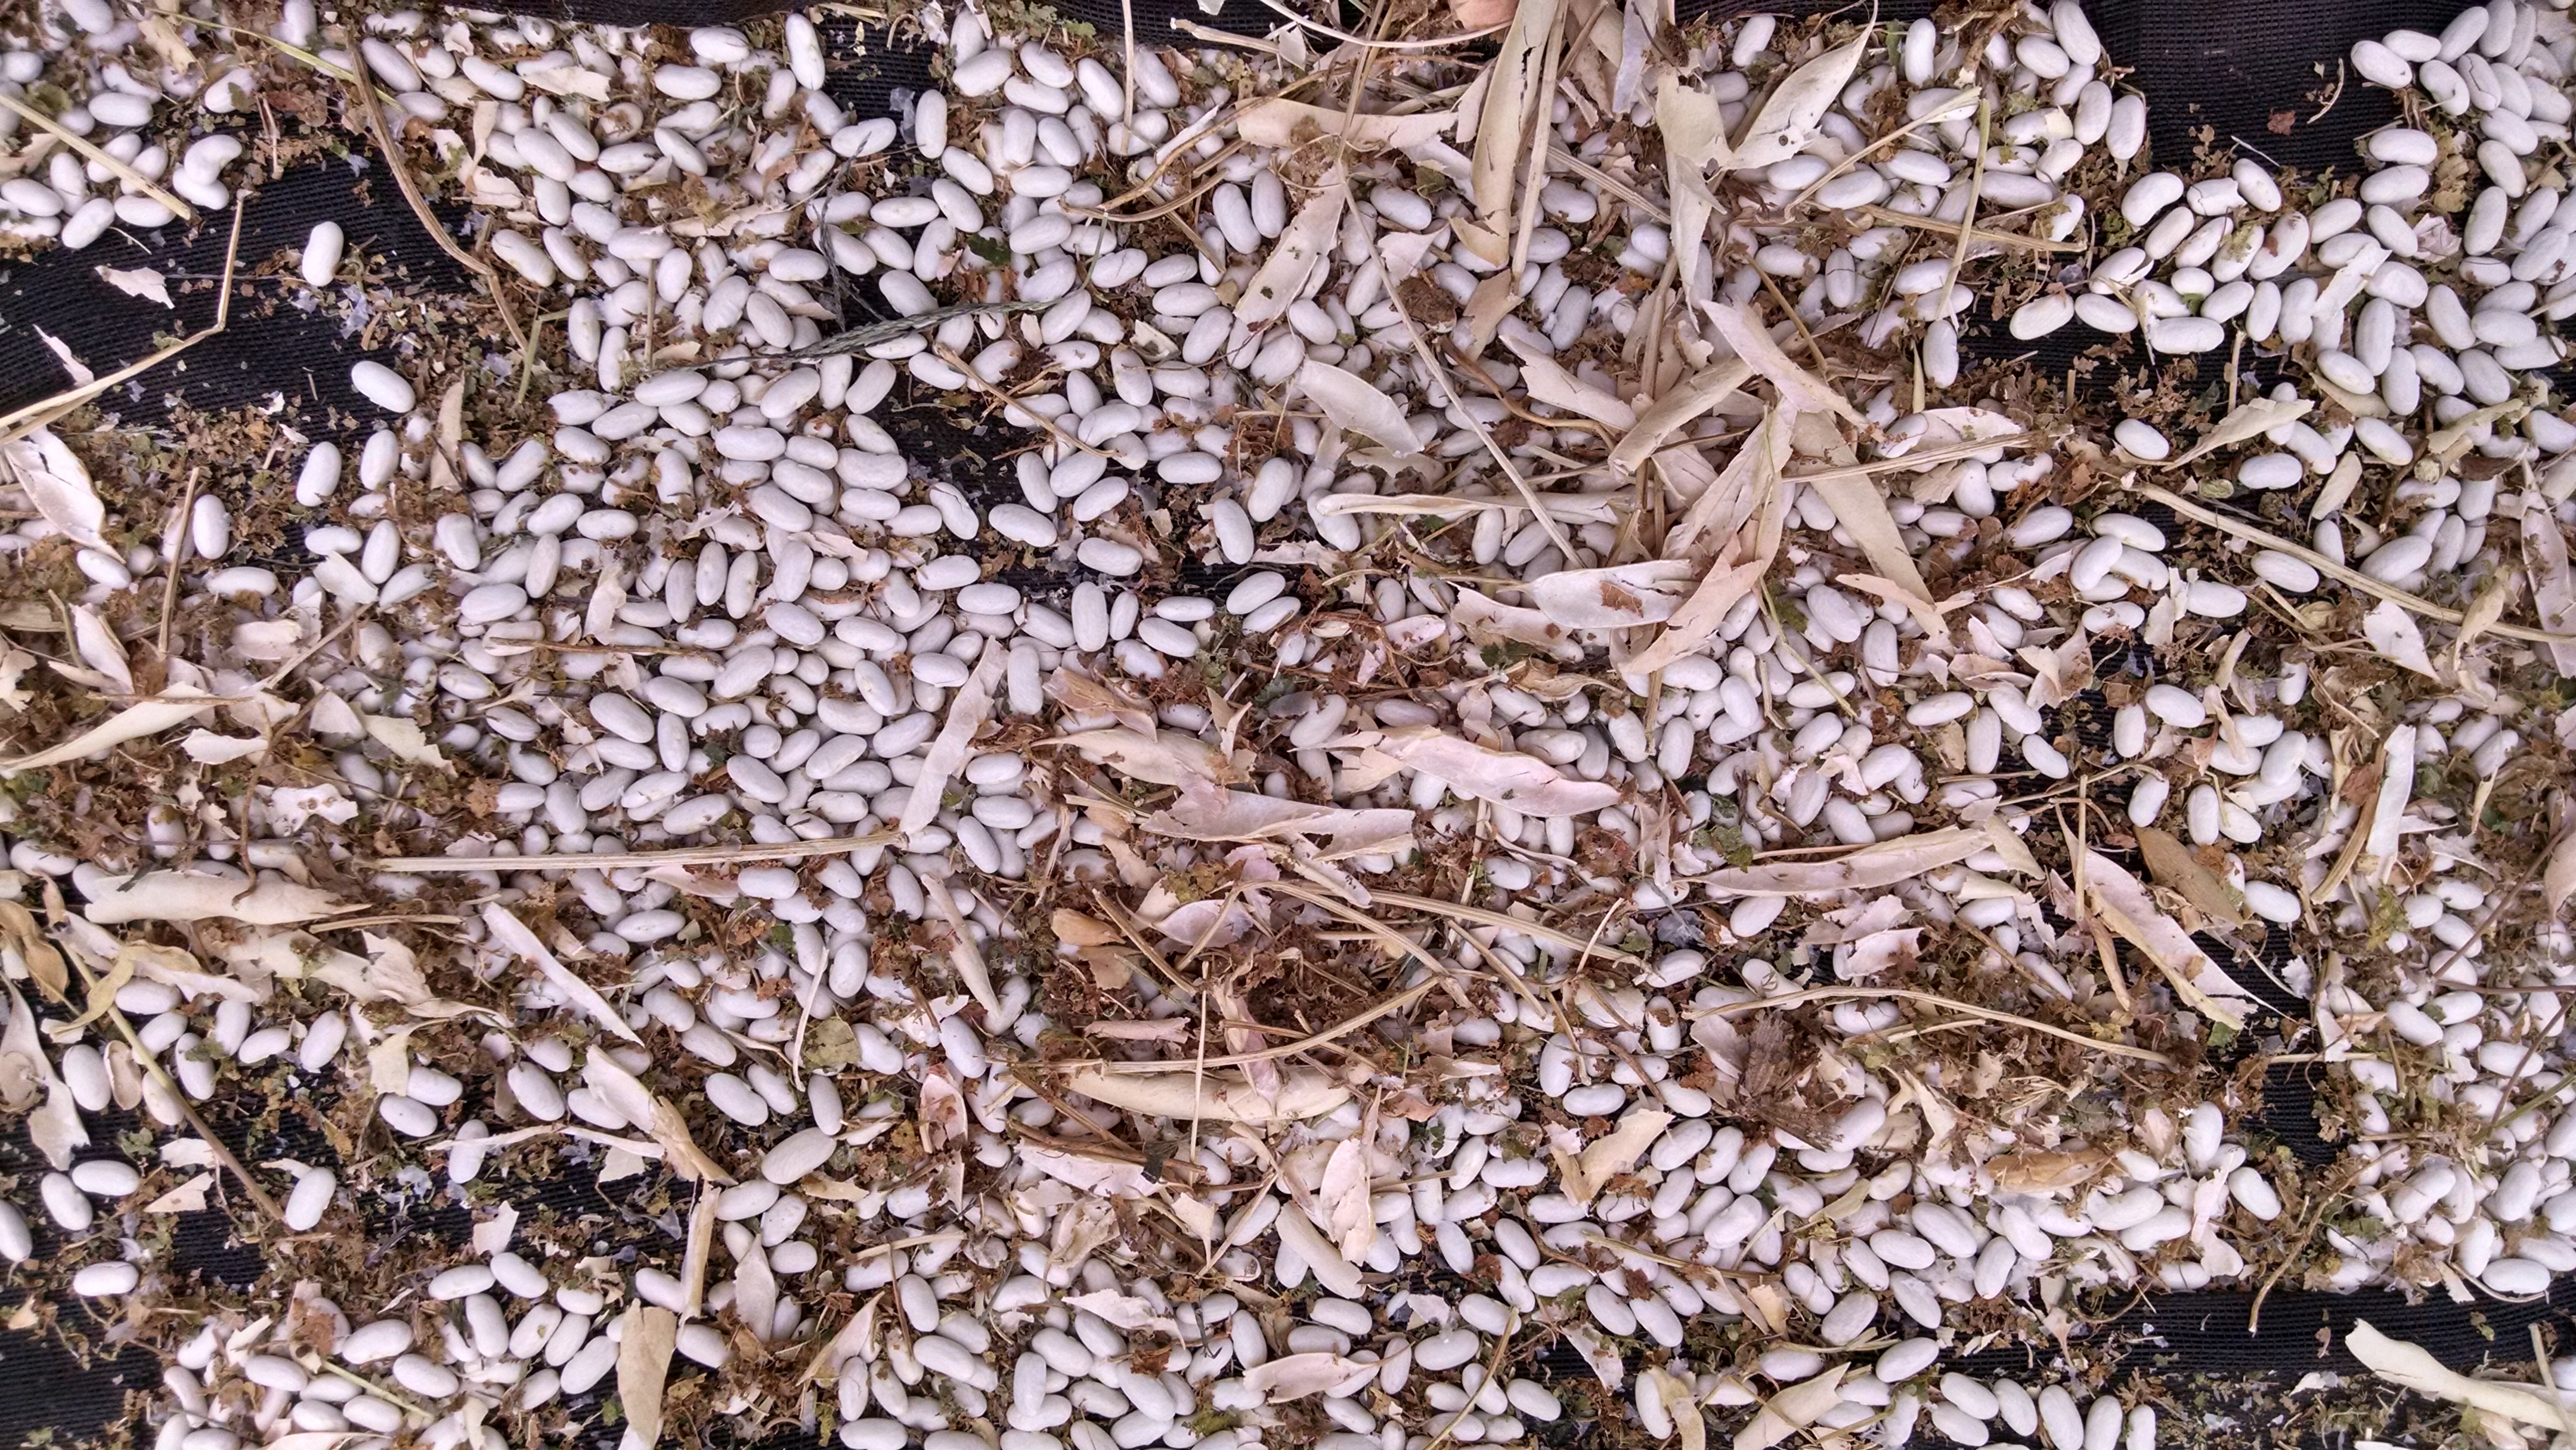
At the end of scalping, there will be smaller debris & lots of beans on the tarp. At this point you can do a quick field winnow using the breeze (with or without a screen) to remove the larger debris, or just gather the beans into your totes to take in & winnow later. The more you minimize plant material at this point the better – it may take a while to get around to the next step (you are a Farmer in September, after all) & you could save a few buckets worth of volume with a quick field winnow.
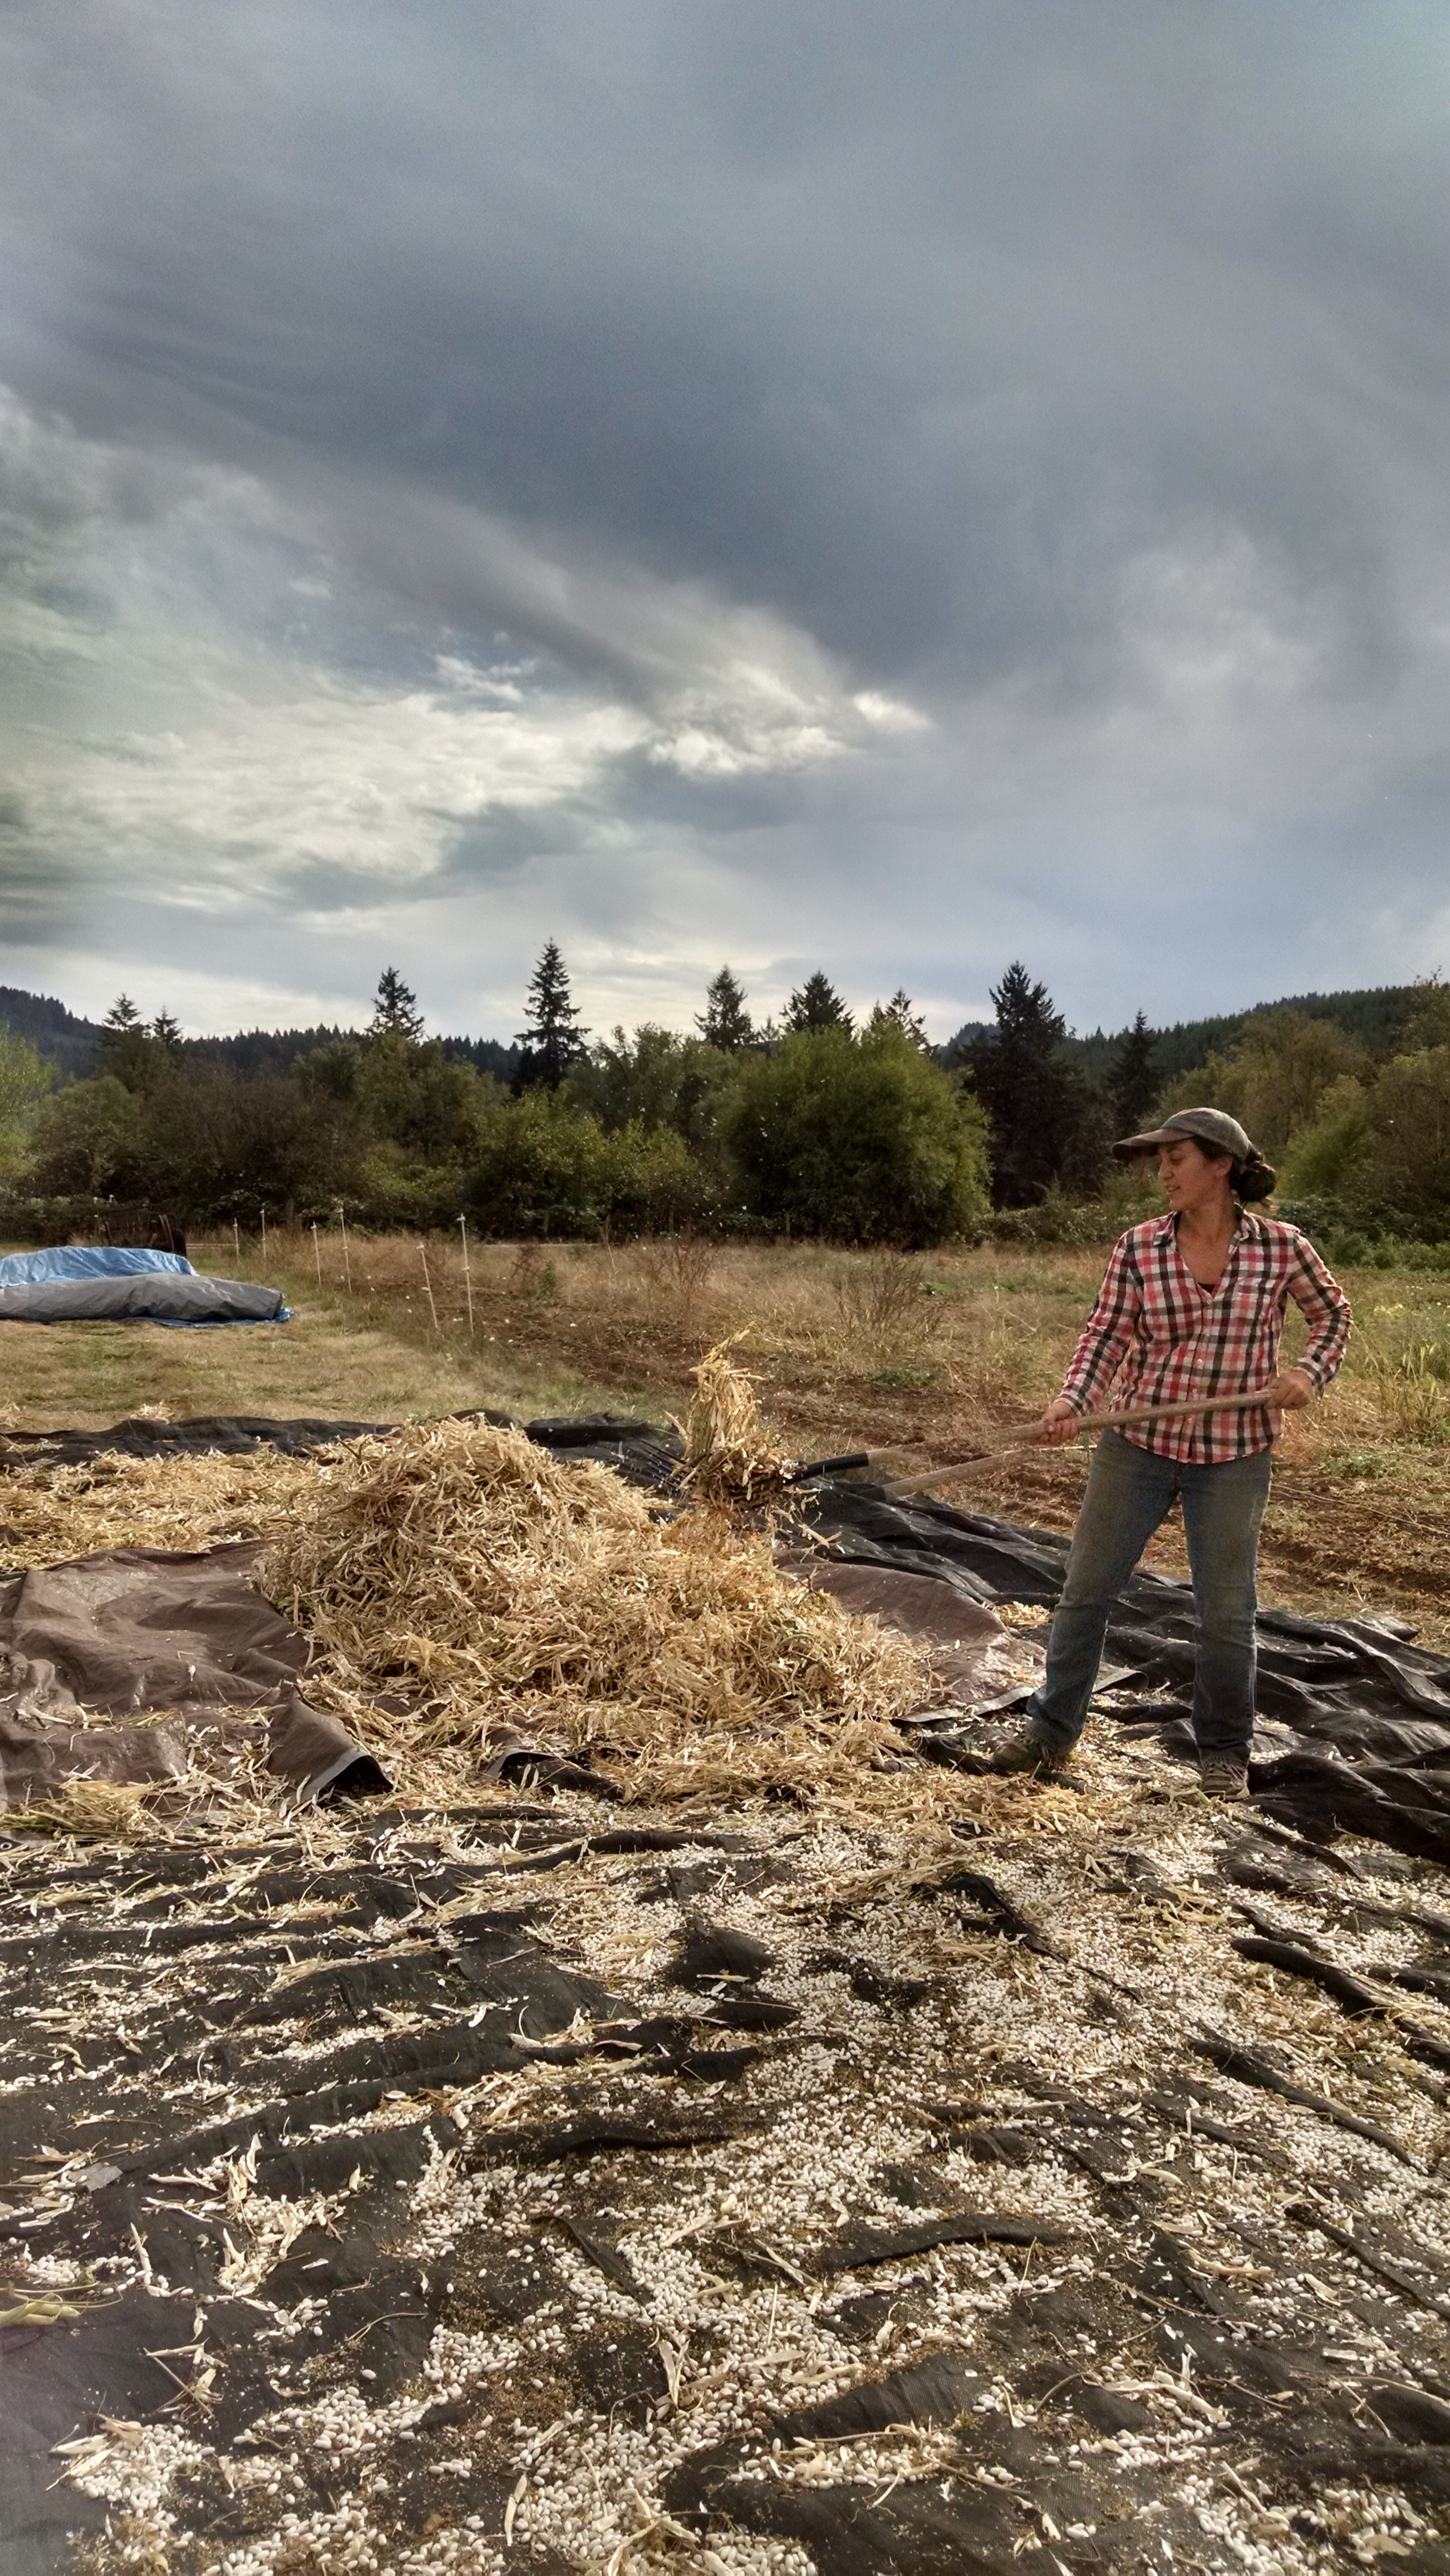
Sarah scalps beans after threshing to remove large plant debris
Winnow & Clean
The next step is to winnow. We use a box fan on its highest setting for beans, pouring the dirty beans in front of the fan so the rest of the plant material blows away. We recommend using a screen at this point to get out the large dirt clods & larger plant pieces, too. Most of the time each bean variety gets winnowed 2 to 3 times.
At the end of this process the beans are mostly clean. The only thing left to do is to pick out the dirt clods that are the same size as the beans. We do this step using an Anderson nursery flat as a tray, so the smaller pieces of dirt & tiny beans will screen out. This is where you will be happy that you removed the dirt from the plants at harvest.
The beans are now ready to store or sell. We store our cleaned beans in 4 gallon buckets & bag them up as needed for market. The great thing about growing beans for market is their shelf-life, as beans will last for years (though we recommend selling for food within 1 year of harvest). This, along with the financial numbers (below) makes them a good addition not only to autumn markets, but potentially winter & spring markets as well – if you can produce enough!
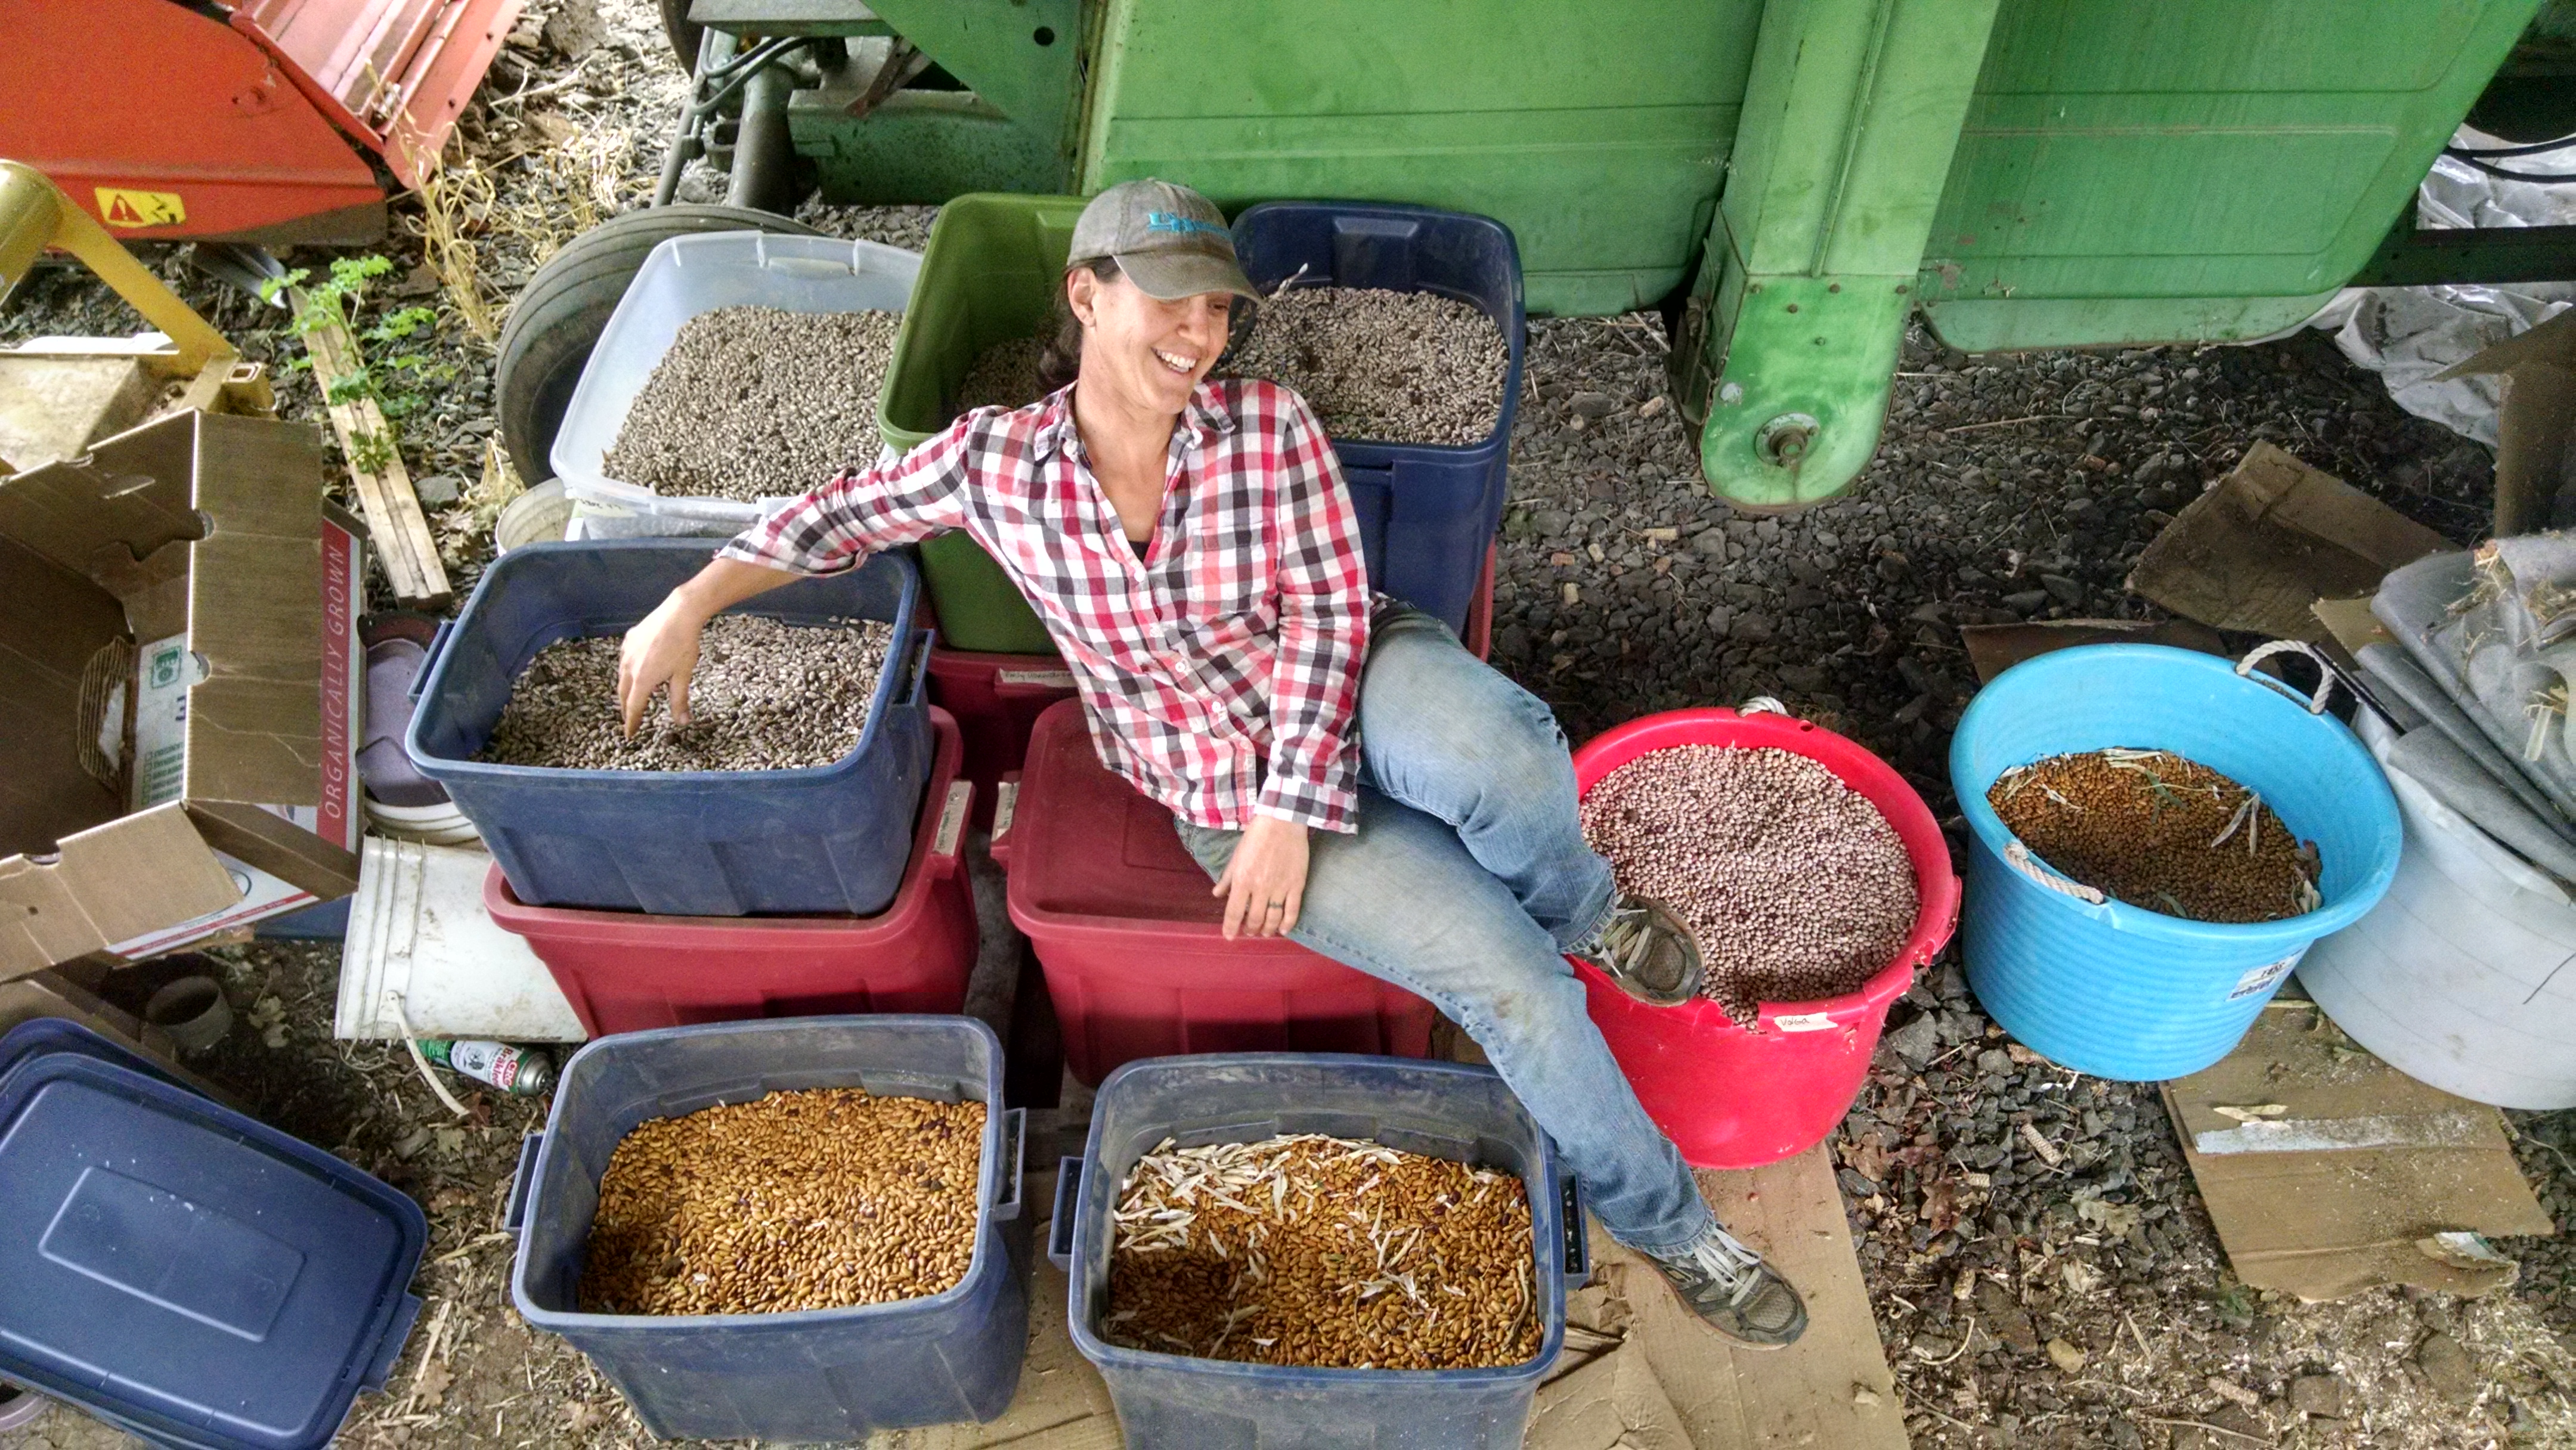
Totes of dry beans make excellent barn lounge furniture.
The Numbers
The following chart shows our direct costs for labor & inputs for about ½ acre of dry bean production in 2014. This is equivalent to 24 x 200′ beds (14,400 row feet). Eight varieties were sown – with variable germination. If all one variety, labor costs would be lower & with better germination yields could have been several hundred pounds higher.
In sum, we produced about 940 lbs of beans. In our market (Eugene, Oregon), these beans (all heirloom varieties & certified organic) would sell for $7/lb as food, but we have seen dry beans fetch up to $12/lb in Portland. After all labor (122 hours of bean-experienced labor @$15 per hr) & direct expenses (fertility, seed cost) were taken into account, the $7/lb price would result in a net profit of $3,891.75. This number does not include overhead & marketing expenses, but even then, it is a respectable bottom line – if you have extra space, dry beans are well worth the time!
Adaptive Seeds 2014 Dry Bean Production Detail
| Date | Activity | Time | Cost | Notes |
| 5/14 | Field Prep | 4 hrs | $260 | @$15/hr human + $50/hr tractor |
| 5/15 | Fertility | $360 | 4-4-4, 1800 lbs | |
| 5/15 | Seed | $210 | 30 lbs @ $7/lb food rate – cost would be higher with purchased seed. | |
| 5/15 | Sowing | 4 hrs | $60 | @ $15/hr. 10 minutes/bed with Earthway, includes mapping & marking varieties. |
| 6/3 | Weeding – tractor | 1 hr | $65 | @$15/hr human + $50/hr tractor. Using tine weeder. |
| 6/18 | Weeding – hoe | 16 hrs | $240 | @ $15/hr. Using wheel hoe & 8” stirrup hoe. |
| 7/15 | Weeding – hoe | 10 | $150 | @ $15/hr. Using wheel hoe & 8” stirrup hoe. |
| 6/1 – 7/31 | Irrigation | 5 | $100 | 8 times running irrigation in June & July. Includes $25 for electricity for pump, 1 hr to set line, 4 hrs turning pump on & off @$15/hr. |
| 9/1 – 9/19 (1 – 2 varieties per session, 6 sessions) | Harvest & tarp | 21.75 | $326.25 | @ 15/hr, avg 2.6 hrs / variety. Includes hand pulling plants, removing dirt clods from roots, & spreading plants on large tarp or shade cloth to dry for 2+ days. |
| 9/3 – 9/22 | Thresh | 9.5 | $142.50 | @ 15/hr, avg 1.2 hrs/ variety. Includes driving on tarp of beans with pickup truck, stirring pile, driving again, removing large plant debris, & collecting beans into totes. |
| 9/4 – 9/23 | Winnow | 7.5 | $112.50 | @$15/hr, avg .9 hr/ variety. Includes pouring threshed & scalped beans in front of fan two times/ variety. |
| 9/5 – 10/2 | Clean – seed cleaner | 16 | $240 | @$15/hr, avg 1 hr/ variety with 2 people operating machine. Using Hance fanning mill type seed cleaner. Anderson type nursery flats can be used to screen most types of beans instead of seed cleaner & might be faster. |
| 9/10 – 10/4 | Clean – hand sort | 30 | $450 | @$15/hr, Avg .75 hr/25 lb bucket. Includes picking out bean-sized dirt clods & split beans. |
Labor Expense Total | From sowing through hand-sort | 124.75 | $1871.25 | Total labor cost for production. |
| Input Expense Total | $845 | From above – fertility, field prep, seed cost, tractor & irrigation. Note: costs do not include overhead & marketing expenses, & assumes tarps, fan, totes & pitchfork are on hand. | ||
Expense Grand Total | $2716.25 | Total production costs. | ||
Adaptive Seeds 2014 Dry Bean Production Summary
| Total Yield | 944 lbs | $6608 | @$7/lb market rate (we’ve seen dry beans as much as $12/lb in other markets). Up to .3 lbs/ bed foot with good germination, as low as .19 lbs/ bed foot with low germination. |
| Expense Totals | -$2716.25 | From above –includes labor & inputs: fertility, field prep, seed cost, tractor & irrigation. Note: costs do not include overhead & marketing expenses, & assumes tarps, fan, totes & pitchfork are on hand. | |
Net Profit | $3891.75 | Note: costs for overhead & marketing are not included. | |
Other considerations
Beans are sensitive to frost & to extreme heat – they’ll set fewer & smaller beans at 90˚F & abort at temperatures above 95˚F so they are not a good crop choice in areas with very hot summers. They are also sensitive to disease in humid areas, & in some places pests such as the Mexican Bean Beetle can be a serious issue (not here, though!).
Our soil is fairly heavy & retains moisture well. Sandier soils will probably need more irrigation BUT may not cling to roots at harvest for quicker harvest & processing times.
Dry beans need to be able to dry down in August & September. If it’s dependably rainy where you live, this is not the crop for you.
Beans must be dried to less than 15% moisture before storage or else they will mold. If harvested when mature & cleaned in a dry period, no extra drying is necessary, but sometimes we run beans through a dehydrator set to 90˚F for 24 hrs before storing.
How do you prevent stink bug damage to your beans? Here in Florida it’s difficult to get dry beans unblemished by the ugly “dot” of stink bug penetration. Stink bugs, bean beetles….summer rainy season….. Any suggestions regarding how to organically manage to get better looking beans here in bug-infested, humid, hot, rainy summer Florida?
Hope,
Thanks for the comment/question! We’re lucky enough to not have stink bugs (yet), or the other issues you mention. As Dan mentions below, it’s possible that wider spacing will help with the summer rainy season & humidity of Florida. As for your pest issues, I have nothing to offer since we don’t have those here. Perhaps someone else will comment later with some helpful tips. Good luck!
Great crop budget!
Out here near Montreal, Quebec, we can’t grow our beans quite as dense. If we do, the turn to jelly by July.
We plant our dry beans 2 rows to a bed. We seed 2-3 seeds per foot depending on expected germination. We get about 1lb for 10 row ft. That comes to 0.2 lbs per bedft, which is on the lower end of your yield range. Some varieties can produce quite a bit more!
Thanks for sharing,
Dan
Thanks for your kind words, Dan!
Thanks also for contributing to the conversation with your spacing & yield info. It’s really great to hear how farms in different areas grow similar crops. Is your wider spacing because of rain, humidity, or some other magic force in Montreal that turns beans into jelly?
We’re doing an experiment at a university student farm in Upstate New York looking at labor efficiency and yield with dry beans ‘Kenearly Yellow Eye’ and this article was incredibly helpful for helping think through upcoming tasks in our growing season. The records you posted are greatly appreciated !!!! thank you!
Hello Jesse Puka-Beals, I am in Cortland, NY-are you speaking of TC3? I would love to get involved as a volunteer. I have a culinary degree and live in the city of cortland. I worked as a chef in France in a potato farm and bed and breakfast. can you please reach me by email? rebeca.d.caceres@gmail.com Thank you!
I have a larger home garden and enjoy dry beans. I do get higher yields with pole beans, just wondering if that would be beneficial to your bottom line? Am in love with Kwintus (Early Riser) for fresh and shell stage, also great for soups. Others are Swedish yellow and Christmas. Zone 4 Minneapolis/ St Paul. Love to read all your archives!
I’m also in the Minneapolis/Saint Paul area. Tried dried beans In my community garden for the first time in 2021. Looking to try more interesting kinds in 2022. I’ll try the ones you listed. When do you sow your beans in our climate?
Hi and thank you for this posting! We love your beans; grew allot of your Favas and hope to dry some. Any insights? We have been drying Scarlet Runners, and enjoy them fresh, too.
thank you for this! I love dry beans, I’m absolutely addicted to growing them in my community garden plot. the first dry beans I ever grew were Jacob’s gold, and I was hooked once I saw how gorgeous they were. one day I’ll be able to have more space, the bean dream! ❤️
Thanks for being real farmers who understand and care about the land, symbiosis, and biodiversity. Really appreciate your truck tricks.
Hi,
Thank you for this article, it was interesting and informative. I have some property and would like to try my hand at dry beans, possibly for a farmers market.
I have two questions: I’m putting in an order for lettuces and greens. Should I consider beans with this order or wait for Spring 2019? And how do you tell when the beans are dry enough to store? Do you use a gauge of some sort?
I have a large greenhouse, 33’ x 100’, so I have the option to bring beans inside where they will be safe from rain.
This information is so much helpful,i thank you this.
Bravo and keep up.
Hi,
I live by myself and working towards living off my .4 acre and wild fish/game. (I don’t need to but it’s entertaining.) What do you calculate a yield/planting ration for dry beans to be. I can grow the heck out of white runners but other varieties are a little trickier. I’m thinking of grow covering my beds to be able to get both the beans and the tomatoes in a little earlier so that my harvesting is all done by the deer opener.
If I pick my pole beans when they reach the shelling stage, will each plant set more pods and yield higher than if I leave them to dry?
It is possible if your season is long enough to dry down the second flush of beans. If your season is just long enough to dry down the primary pod set, I recommend picking some plants as shelling and others as dry.
Hello, I’d like to try growing a Royal Corona bean this year. It’s huge, about an inch long. The skin is rather thick. Would you soak them until they sprout? Any thoughts? Thanks!
Soaking beans before sowing can help improve germination, but if the soil is moist and warm, and the seed is good, it is not necessary. Try soaking them overnight the day before you sow them. But don’t leave them under water for more than that because they also need air to germinate.
I’m in the Sacramento Valley in California. Really interested in growing beans( and in fact just got a number of varieties in the ground last weekend), but the temperatures here definitely get over 90 degrees. In fact it’ll be up to 100 degrees this week and high summer temps can get even hotter.
Read your article and was surprised by your statement that beans will abort production in hot weather. Is there anything I can do to address this? Extra water or shade?
Any tips would be appreciated!
Great article. I would also like to know more about minimizing heat. I’m in Bishop CA at 4,150’ elevation zone 7b. We are triple digits now for weeks at a time. Hoping to give this a go next year.
I grew Whipple Creek beans this year, my first try at bean growing. I live in Maryland, hot humid summers. I picked the beans yesterday, some are the correct maroon color but most are still pretty pale looking. Are the pale ones still good for eating?s
Hi Hope,
I would suggest trying legumes that are better adapted to Florida conditions or are more wild. I had some success growing a yellow tepary bean, pigeon peas, fall varieties of dry peas and red calico limas. This was in north Florida. The tepary beans had a lot of potential. I would only try to time them with any dry spell in florida for their drying, space them out and give them some sort of climbing support. We have lots of stink bugs and I did not see any noticeable damage to the tepary beans and red calico limas. The pigeon peas are great but unfortunately the ones I grew only started to flower when our frosts hit and they died. There is a shorter season pigeon pea that they grow up north. I think truelove seeds sells them. If you’re still trying I wish you the best of luck. It’s hard growing in florida.
Just stumbled onto your site. Really loved your detailed and engaging write-up about the way you do it. Thank you. Got way more out of this than I anticipated and has me hungering for this growing season…
I found that when I dried beans in my dehydrator it took them forever to cook. I’m not sure if it effected germination. We gave up on bush beans, though they’re prettier, because of slugs and much lower yields.
I’ve been growing dry beans— edamames, Jacob’s Cattle, pinto,kidney, cannellini,black, Kenearly, etc. — for 50 years in upstate and Southern Tier NY. I have been planting bush beans (and peas) in 3-foot-wide rows (6 rows) with the beans spaced 6” apart (peas at 3”). The nitrogen-fixing abilities have always been a big draw though,as a vegetarian lo these many years, nutrition has also been a plus. I’ve hemmed and hawed on the pre-soak before planting lately. The seed becomes more fragile if soaked too long. With beans and hairy vetch (under the sweet corn) the bacteria population is pretty good so I might or might not inoculate. I can mostly get away with two weddings — one before the bean leaves have cover the bed and one (more painfully) after the plants are tall and pods have set. If I’m not in a big hurry to get the beans out of the ground and winnowed (or hung on the fence for further drying) I like to leave the root in the ground — that’s the nitrogen-fixers right there. I harvested 15-1/2 pounds of black beans from a 3×35-foot plot a couple of years ago. Maybe I should try a wider spacing though I can hardly imagine better yield. Maybe I should fertilize as well.
Sarah, I read the 2015 comment from Hope in Florida about stinkbugs that damaged her beans. I live in Seattle, Washington. Stinkbugs are becoming a terrible problem at the community garden where I have grown Scarlet Emperor Beans for several years. Last summer, large numbers of stinkbugs afflicted my dry beans and tomatoes. I sprayed them with organic insecticidal soap several times, to little effect. They resulted in a smaller crop of beans, with many stunted pods.
Do you know of any effective organic controls for stinkbugs? The only one that I found was to handpick them off the bean vines and drown them in soapy water. This is too slow to be practical.
Given that shaking the soil from the roots and later removing the clods you missed is a lot of work wouldn’t it be better to cut the plants off at the ground and leave the roots?
Where might I find days to maturity for your bush dry beans? I am currently growing Rosso luchese and Jacob’s Cattle, both of which are fabulous, but I’m always looking for more storage protein for our larder.
qazpyk
381fji
oekrvl